Table of Contents
ARDUINO VISUAL CODE BLOCKS PROGRAMMING IN TINKERCAD
In this tutorial series, you will learn Arduino block programming easily using visual code blocks in Tinkercad. This tool is very helpful and useful for beginners and people who have no prior knowledge of any programming language.
WHAT IS TINKERCAD?
Tinkercad is an open source and a free web based online collection of software tools and it only requires an internet connection and a web browser.
Tinkercad provides us easy 3D design creation, code blocks programming and electronic circuits simulation
-
- In the Circuits section (we use this section) of Tinkercad, you can design your circuit in the easiest manner and can simulate your circuit using an Arduino or other boards or components available, with and without any knowledge of computer codes or programming.
- In the 3D design of Tinkercad, you don’t need prior knowledge of CAD. It is easy to create 3D designs you like.
- In code blocks of Tinkercad, you can design 3D objects not only using drag and drop of shapes but also using visual code blocks.
In this series of tutorials we will discuss circuit designing to create projects using an Arduino UNO board in Tinkercad.
CREATE NEW CIRCUIT IN TINKERCAD
OPEN WEB BROWSER
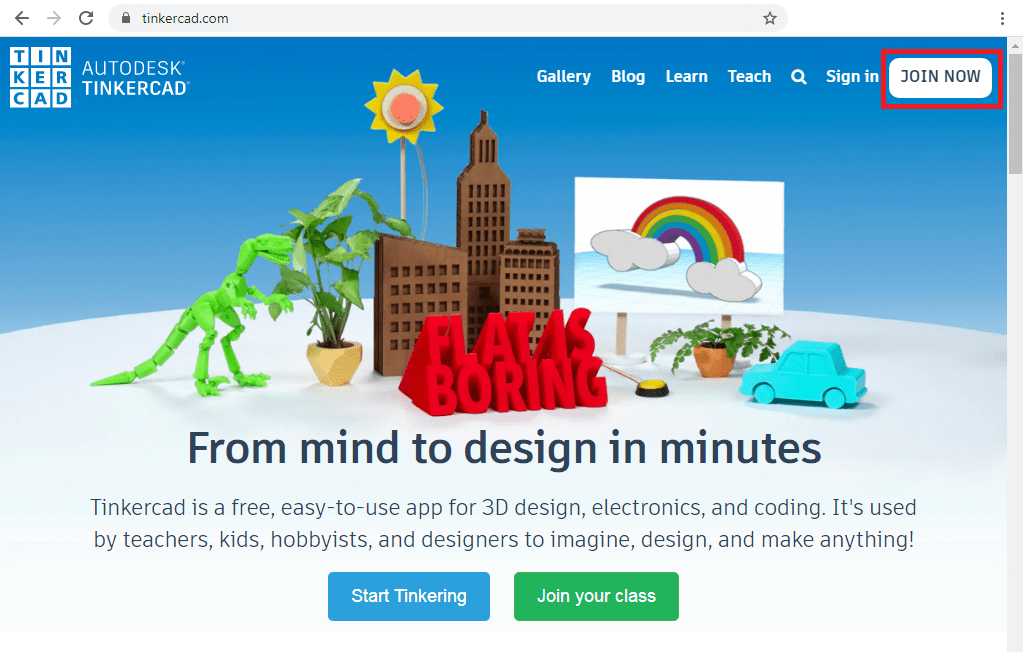
First of all open your web browser (Google Chrome, Internet Explorer, etc). After this, enter this URL “https://tinkercad.com” in your web browser or click here. Then you will see a home page like this.
CREATE AN ACCOUNT IN TINKERCAD
Once you open Tinkercad home page, you will see Join Now button at the top, From there create your account follow steps below
Join Now → Create a personal account → Sign in with Google or apple account
TINKERCAD DASHBOARD
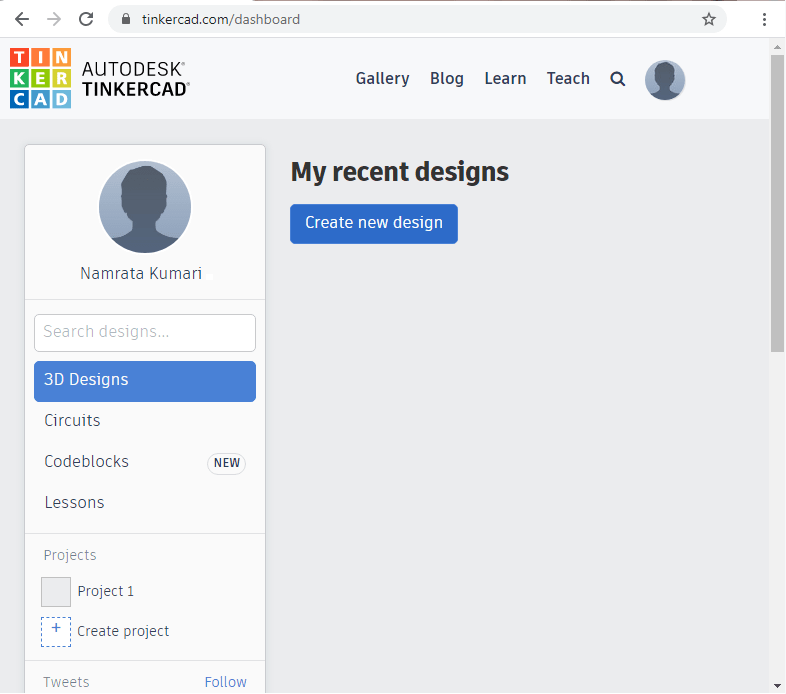
Then you will see Tinkercad dashboard something like this
CREATE CIRCUIT
Go to Circuits → Create New Circuit
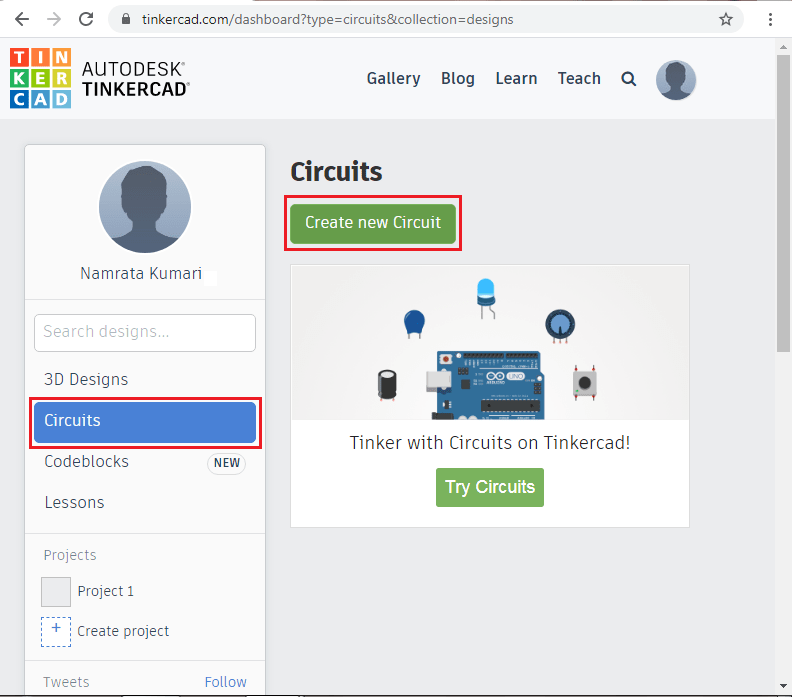
Once you click create a new circuit, you will see the Circuits dashboard like this.
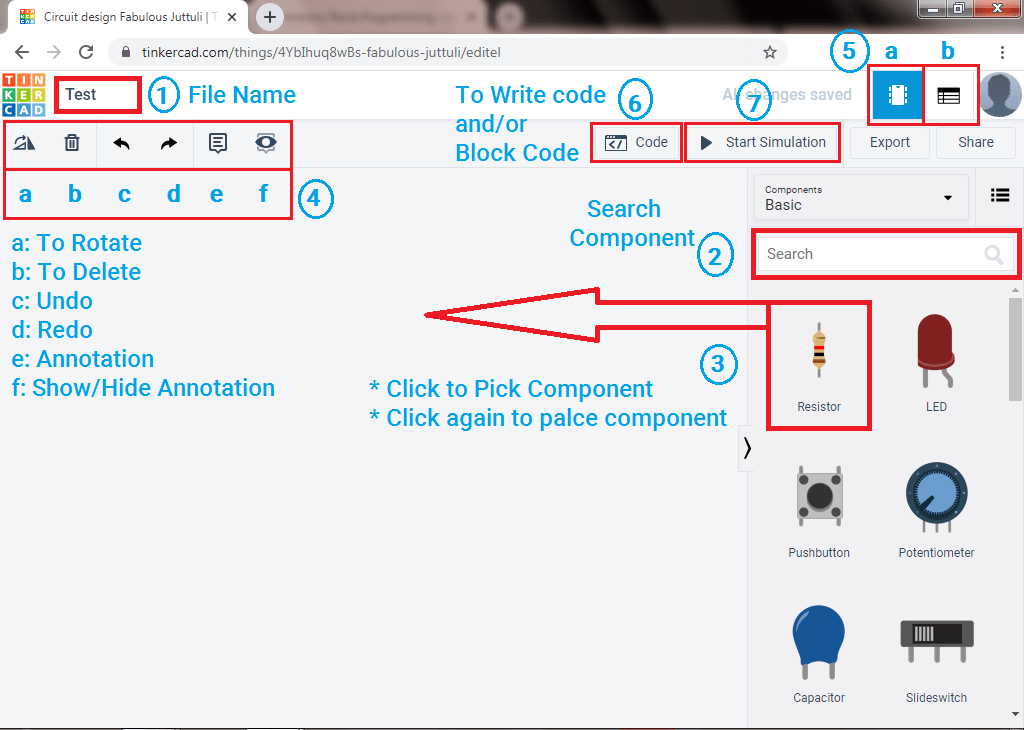
Circuits dashboard start guide
- File Name: From here you can change the file name for your circuit, Example Test, Arduino and LED etc.
- Search: To search component in the Tinkercad component library
- Pick and Place component
- After search, click once over the component you like to choose, then move cursor to workspace (you will see component float with cursor now) and click again to the position where you want the component to place.
- To draw connecting wires or make connections between components, click over the terminal of the first component then click over the terminal of the second component. Then you will see a pop window to change the colour of the wire of your choice.
- Here you can see multiple options (six) are present these are
- To rotate components, each click rotates the component by 30 degree clockwise. It takes 12 clicks to complete 360 degrees.
- To delete unwanted components from the workspace or you can simply select component and press del key on your Keyboard.
- To undo the steps
- To redo the steps
- To add annotation or message, so that it will be easily visible to anyone you show or share a file. You can use this for showing your brand name also.
- To show or hide annotations
- This is used as follows
- For workspace
- For components list used in circuit
- Code: This is used to write code or to use visual code blocks in tinkercad, for example, for arduino uno you need to write code or create code blocks.
- Start Simulation: To simulate the circuit you created, so that you can verify the circuit and its working before making it on hardware.
WHY USE VISUAL CODE BLOCKS PROGRAM IN ARDUINO
Visual code blocks of Tinkercad are useful to make programs with Arduino in the easiest way without experiencing common errors such as syntax error, mistyping the name of a function or forgetting a semicolon (;) etc.
It creates the link between visual programming and text based program to create everything in the Tinkercad circuit, which leads us to make the real, physical hardware using the Arduino IDE.
In the next section, we will provide you detailed knowledge of code blocks working using Arduino UNO and circuit design using Arduino UNO with the help of block programming.
[pad]
NEXT POST
LIGHT UP LED USING ARDUINO IN TINKERCAD