Table of Contents
Serial communication in arduino board is quite simple and easy. UART chip (hardware part) is included in ATMEGA328 microcontroller used in Arduino Uno, which facilitates to implement Serial communication.
Now you will learn programming methods and built-in functions to implement serial communication step by step.
void setup() {
  Serial.begin(9600);
}
void loop() {
  Serial.println("Hello");
  delay(1000);
}
OUTPUT
After uploading this code in Arduino now open Serial Monitor and you will see that hello starts printing in the next line every second.

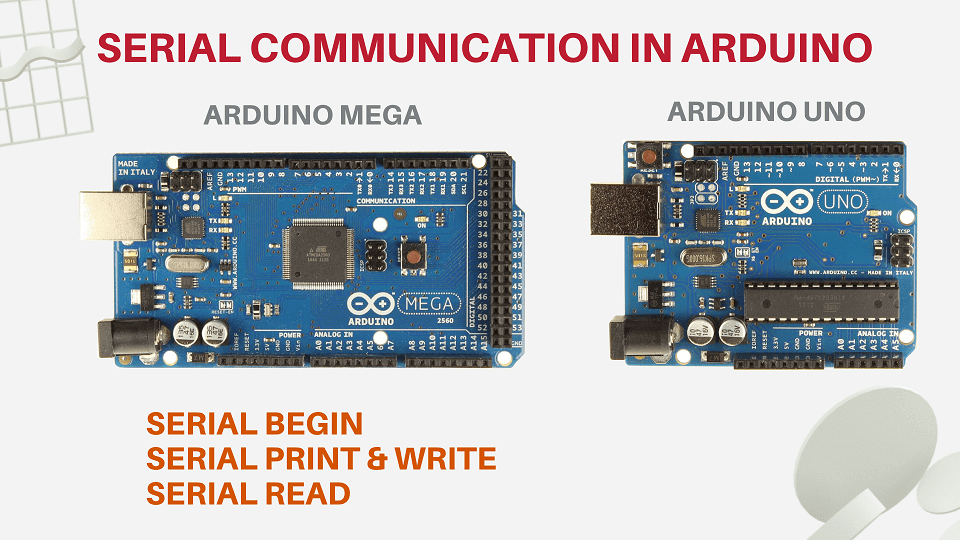
SERIAL COMMUNICATION IN ARDUINO
STEP 1: START SERIAL COMMUNICATION USING “Serial.begin()”
Assign the value of rate of data transfer it is stated in bps (bits per second) also called as baud rate i.e. transmission of data in bits per second. Sometimes a single change of signal transfers several bits of data. The data transfer rate of given computer system depends on communication ports included or incorporated into that system are following –
- IBM PC/XT could transfer data at the rate of 100 to 9600 bps
- Pentium-based PCs transfer data at rates as high as 56K bps
Serial.begin() is built-in function, take two arguments. First argument configures baud rate and the second argument (optional) configures the data, parity, and stop bits
PARAMETERS
- Baud rate (Speed): in bits per second (baud) – long
- Config: sets data, parity, and stop bits. Valid values are following:
BAUD RATE (SPEED)
- Sets the data rate in bits per second (baud) for serial data transmission.
- For communicating with the computer, we can use any of these rates:
Speed: 300, 600, 1200, 2400, 4800, 9600, 14400, 19200, 28800, 38400, 57600, or 115200. - You can, though, use other baud rates to communicate depending upon the device/ component connected at pin 0 and pin 1 (Rx, Tx) that requires a particular baud rate.
- An optional second argument configures the data, parity, and stop bits. By default it is set as 8 data bits, no parity and one stop bit.
CONFIGURATION: SETS DATA, PARITY & STOP BITs.
Examples of config: Valid values are as follows
SERIAL_5N1
SERIAL_6N1
SERIAL_7N1
SERIAL_8N1 (the default)
SERIAL_5N2
SERIAL_6N2
SERIAL_7N2
SERIAL_8N2
SERIAL_5E1
SERIAL_6E1
SERIAL_7E1
SERIAL_8E1
SERIAL_5E2
SERIAL_6E2
SERIAL_7E2
SERIAL_8E2
SERIAL_5O1
SERIAL_6O1
SERIAL_7O1
SERIAL_8O1
SERIAL_5O2
SERIAL_6O2
SERIAL_7O2
SERIAL_8O2
SYNTAX FOR ARDUINO UNO
In Arduino Uno board only single hardware (UART) for Serial communication is available
Either this
Serial.begin(speed);
or this
Serial.begin(speed, config);
EXAMPLE CODE
void setup() {
  // It begins serial communication or opens serial port & sets data rate to 9600 bps
  Serial.begin(9600);
}

void loop() {
}
SYNTAX FOR ARDUINO MEGA
In Arduino Uno board only one UART for Serial communication is available while in Arduino Mega 4 hardware (UART) present for Serial communication. If you are going to use all 3-serial port of Arduino Mega, see the procedure to add in the format shown below –
Either this
Serial.begin(speed)
Serial1.begin(speed)
Serial2.begin(speed)
Serial3.begin(speed)
Or this
Serial.begin(speed, config)
Serial1.begin(speed, config)
Serial2.begin(speed, config)
Serial3.begin(speed, config)
EXAMPLE CODE
/* All four of its Serial ports used by Arduino Mega those are Serial, Serial1, Serial2 & Serial3
    with different baud rates:
*/
void setup() {

  Serial.begin(9600);
  Serial1.begin(38400);
  Serial2.begin(19200);
  Serial3.begin(4800);
}

void loop() {
}
STEP 2 – SERIAL PRINTING IN ARDUINO
Now, we have to transmit/send data to the serial port. For that we also have built-in functions that are:
Serial.write();
Serial.print();
Serial.println();
Serial.print() and Serial.println() both functions are used in printing on Serial devices but the difference is “ln” is added to set the cursor position to the next line.
WRITE ()
Serial.write(), writes binary data to the serial port. This data is sent as a byte or series of bytes to send the characters representing the digits of a number use the print() function instead.
SYNTAX
Serial.write(val);
Serial.write(str);
Serial.write(buf, len);
Arduino Mega also supports: Serial1, Serial2, Serial3 (in place of Serial)
PARAMETERS
val: a value to send as a single byte
str: a string to send as a series of bytes
buf: an array to send as a series of bytes
len: the length of the buffer
RETURNS
byte
write() will return the number of bytes written, though reading that number is optional
EXAMPLE CODE
void setup() {
  Serial.begin(9600);
}

void loop() {
  // send a byte with the value 34
  Serial.write(34);

  //send the string "hello world" and also returns the length of the string.
  int bytesSent = Serial.write("hello world");
}
PRINT ()
Serial.print(), prints data to the serial port as human-readable text such as integer Numbers, Floats by default to two decimal places. Bytes are sent for a single character. Characters and Strings are sent as it is, for example:
Serial.print(78); // gives "78"
Serial.print(1.23456); // gives "1.23"
Serial.print('N'); // gives "N"
Serial.print("Hello world."); // gives "Hello world."
An optional second parameter specifies the base (format) to use; permitted values are BIN (binary, or base 2), OCT (octal, or base 8), DEC (decimal, or base 10), HEX (hexadecimal, or base 16). For float data type, this parameter also specifies the number of decimal places to use. For example:
Serial.print(78, BIN); // gives "1001110"
Serial.print(78, OCT); // gives "116"
Serial.print(78, DEC); // gives "78"
Serial.print(78, HEX); // gives "4E"

Serial.println(1.23456, 0); // gives "1"
Serial.println(1.23456, 2); // gives "1.23"
Serial.println(1.23456, 4); // gives "1.2346"
SYNTAX
Serial.print(val)
Serial.print(val, format)
val: the value to print (int, float)
format: specifies the base (of the number system such as BIN, OCT, DEC, HEX) of the number (for integral data types) and number of decimal places for float type numbers.
RETURNS
size_t (long): print() returns the number of bytes written, however reading that number is optional
EXAMPLE CODE
/* We are using a FOR loop for data and printing a number in numerous formats.*/
int x = 0;     // variable

void setup() {
  Serial.begin(9600);       // open the serial port at 9600 bps:
}

void loop() {
  // print labels
  Serial.print("NO FORMAT");        // prints a label
  Serial.print("\t");               // prints a tab
  Serial.print("DEC");
  Serial.print("\t");
  Serial.print("HEX");
  Serial.print("\t");
  Serial.print("OCT");
  Serial.print("\t");
  Serial.print("BIN");
  Serial.print("\t");

  for (x = 0; x < 64; x++) {
    // only part of the ASCII chart, change to suit
    // print it out in many formats:
    Serial.print(x);        // print as an ASCII-encoded decimal - same as "DEC"
    Serial.print("\t");     // prints a tab
    Serial.print(x, DEC);   // print as an ASCII-encoded decimal
    Serial.print("\t");     // prints a tab
    Serial.print(x, HEX);   // print as an ASCII-encoded hexadecimal
    Serial.print("\t");     // prints a tab
    Serial.print(x, OCT);   // print as an ASCII-encoded octal
    Serial.print("\t");     // prints a tab
    Serial.println(x, BIN); // print as an ASCII-encoded binary
    // then adds the carriage return with "println"
    delay(200);             // delay 200 milliseconds
  }
  Serial.println("");       // prints another carriage return
}
STEP 3 – SERIAL READ IN ARDUINO
In the above steps you learned how to begin Serial communication and to print data.
Now learn and know the method of how to read or receive data from the device or peripheral which was connected to the Serial port. There are built-in functions that read different types of data and convert into desired data type as per program.
FUNCTIONS
Serial.read();
Serial.readBytes();
Serial.readString();
Serial.parseInt();
Serial.parseFloat();
Serial.read() – Receive the incoming data in character form defined as in ASCII and store it in user defined variable.
Serial.readBytes() – It takes two arguments which decide types of data and length it will allow while receiving. Reads data from the serial port and stores it into a buffer. The function terminates if the determined length has been read, or its times out. Returns the number of characters placed in the buffer.
SYNTAX
Serial.readBytes(buffer, length);
PARAMETERS
buffer: the buffer to store the bytes in (char [] or byte [])
length: the number of bytes to read in integer value (8,10,14)
Serial.readString() – Read data in the form of string from serial buffer.
Serial.parseInt() – Reads data in the form of integer from serial buffer.
Serial.parseFloat() – Reads data in the form of float from serial buffer.
If you are reading the value from temperature sensor using built-in function analogRead() and comparing the value which is received from your phone via bluetooth method then you have to use Serial.parseInt() function instead of using Serial.read() or convert them in common data type by type casting.
Now you have a clear picture of other built-in functions for use in your program and you will observe the implementation of all these functions in chapters like GSM, RFID, Bluetooth and GPS.
READ NEXT
BLUETOOTH HC05
good article